Listing Types and Features
How to Add a Listing
How to Add an Event
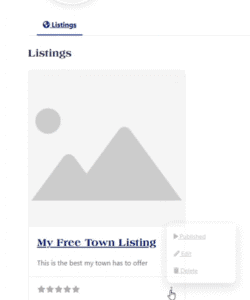
Make Changes or Update a Listing
Make Changes or Update an Event
Upgrade a Listing
Delete a Listing
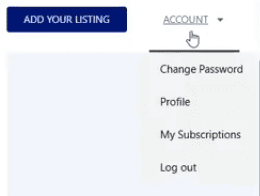
How to Login
From any page on the site, simply click the “login” button on the menu bar. This will direct you to the login screen.
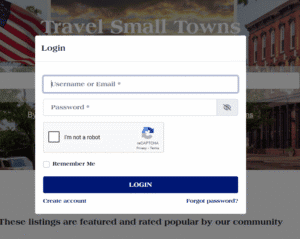
Enter the email and password you used when you created your account.
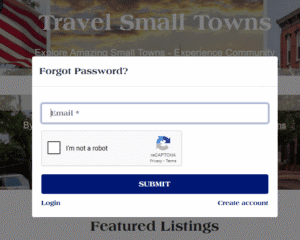
Forgot Password
From any page on the site, simply click the “login” button on the menu bar. This will direct you to the login screen.
At the bottom of the login box, click on “Forgot Password?” This will open a new box. Enter the email you used to create your account with Travel Small Towns, and a link will be sent to your email to reset your password.
Create Account
Click on the “Login” link or hover over the “Login” link in the menu bar and click “Register.” A box will open that will allow you to enter your name, email address and the password you would like to use for your account.
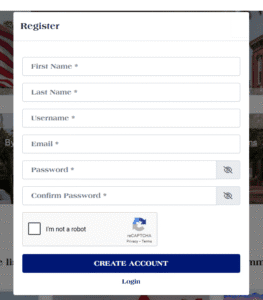
Click “Create Account,” and you will receive an email to verify your account credentials. You can now use your email and password to login to Travel Small Towns.